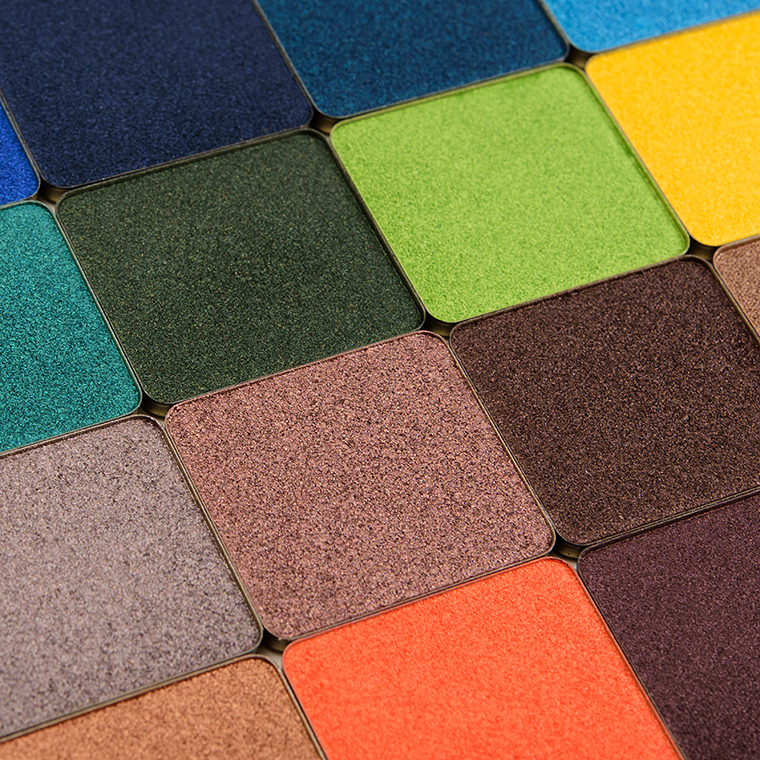
Makeup Troubleshooting: My Eyeshadow is Too Hard or Too Stiff!
Firmer eyeshadow formulas are pressed more firmly into the pan, and it doesn’t necessarily have to be a bad thing, but firmer eyeshadows require some modification of techniques and tools in order to get the most pigmentation and blendability out of them.
One upside is that firmer formulas tend to work best for building up coverage and often don’t suffer from fallout. Below, you’ll find my best tips and tricks to get the most out of your firmer/stiffer formulas for better results!
Here are some examples of firmer, denser, and/or stiffer formulations that I’ve tried: Make Up For Ever Artist Color Shadows, MAC Eyeshadows, and NARS Eyeshadows. Most metallic shades these days tend to be denser/creamier and/or thicker, so some of this section would apply to shimmery shades from these formulas as well: MAC Extra Dimension Eyeshadows, NARS Dual-Intensity Eyeshadow, and Tarte Tarteist Metallic Shadow.

Use More Pressure
Use a heavier hand because the surface of the pan is stiffer and firmer, so there’s little fear of picking up too much product on a brush, and depending on just how firm or stiff the formula is, it may range from moderate pressure to heavy pressure.
Push and lightly jab at the pan with the edge of a brush when you want to get more pigment. I prefer a pushing technique over a swirling or sweeping technique when picking up my powder eyeshadows in general (but I’m all about that ~pigment~), where I a flat, shader brush (like a MAC 239) and use the tip of the brush and gently push the pan a few times to dislodge product, and then I pick it up with more of the brush’s surface area so that I can pat it onto the lid.
Use a firmer touch when blending out the eyeshadow. You’ll likely want to use more circular motions or more pulling along the edge, which will move the pigment a little more than more gentle, sweeping motions. Sometimes I find that using my shader brush (like the MAC 239) and that edge is more effective than a softer, tapered crease brush (like Hakuhodo J142) because it does a better job of pulling the pigment up and out.
>> Check out our in-depth guide to blending out your eyeshadow perfectly here!
Use Flatter, Denser Brushes
Use flatter, denser brushes with creamier and more silicone-based powder eyeshadow formulas. These types of brushes are often synthetic eye brushes that are marketed for cream and liquid usage, but they tend to do well with these denser (but creamier, not too stiff) formulas–like heavily shimmered, more metallic eyeshadows. I find brushes like MAC’s 242 work well, but I’m also a huge fan of Smith’s 253, which is a natural option.
Use a scratchier brush for blending out edges. This is why the softness of a brush isn’t always the most important feature! Sometimes, you’ll want a slightly scratchier, rougher brush (this is not to say it should be painful or irritating; e.g. squirrel hair is far softer than goat but goat is still soft yet blends more efficiently), which will move the eyeshadow more efficiently. The longer spent blending, the higher risk one has of muddying everything in the end.

More Tricks & Tips
Build up intensity to avoid having a nightmare of a time blending out a stiffer eyeshadow, because often, the firmer and stiffer the eyeshadow, the more strongly it adheres to the lid and less blendable it is.
What I like to do, particularly with richer or darker hues, is to apply in layers, gradually building color intensity so that it is strongest exactly where I want it and I simply don’t layer on as much on areas that I want it to be more diffused or blended. It ends up looking more blended without actually blending it out as a result.
>> If you’ve having trouble getting pigmentation, make sure you’re prepping your eye properly!
Use similarly-hued, lighter shade to help blend and diffuse edges. If all else fails, I’ll take another eyeshadow (hopefully one that’s a bit less stiff!) and layering it just above the harsher edge I want to blend and then pull that lighter shade down and use it to diffuse and soften the edge without lightening the original shade too much.
Be careful using more white-based shades as it can cause some deeper shades (especially when working with matte eyeshadows) to turn gray.
Apply matte eyeshadows prior to creamier, denser metallic eyeshadows. I find that some creamier, denser metallic eyeshadows do not blend that well with matte eyeshadows, which are often a little thinner and more powdery, so I will apply the matte eyeshadow first and then gently pull the metallic shade over the edge of the matte. This seems to help minimize the need to try and make the two textures (which are different in thickness) meet and blend.
Remove hard pan or film build-up with a paper towel gently rubbed against the surface of the pan; paper towels are often rough enough to disturb the surface more evenly, which will take off the top layer that has developed a film. This film can make the eyeshadow appear almost oiled and feel much firmer. This often occurs as a result of the natural oils from your fingertips, face, or eyes transferring to the powder eyeshadow. If you use fingertips, it is most likely to happen, but it can also happen when using brushes (some formulas are more prone to it than others).
>> Need more help on where to apply your eyeshadow? Check out this post.
Looking for the perfect formula? Check out our favorite eyeshadows and must-have eyeshadow palettes.
from Temptalia https://ift.tt/2quZLnC
Visit Feminine Well Being blog for interesting articles like this!
Comments
Post a Comment